Halloween Paperchains
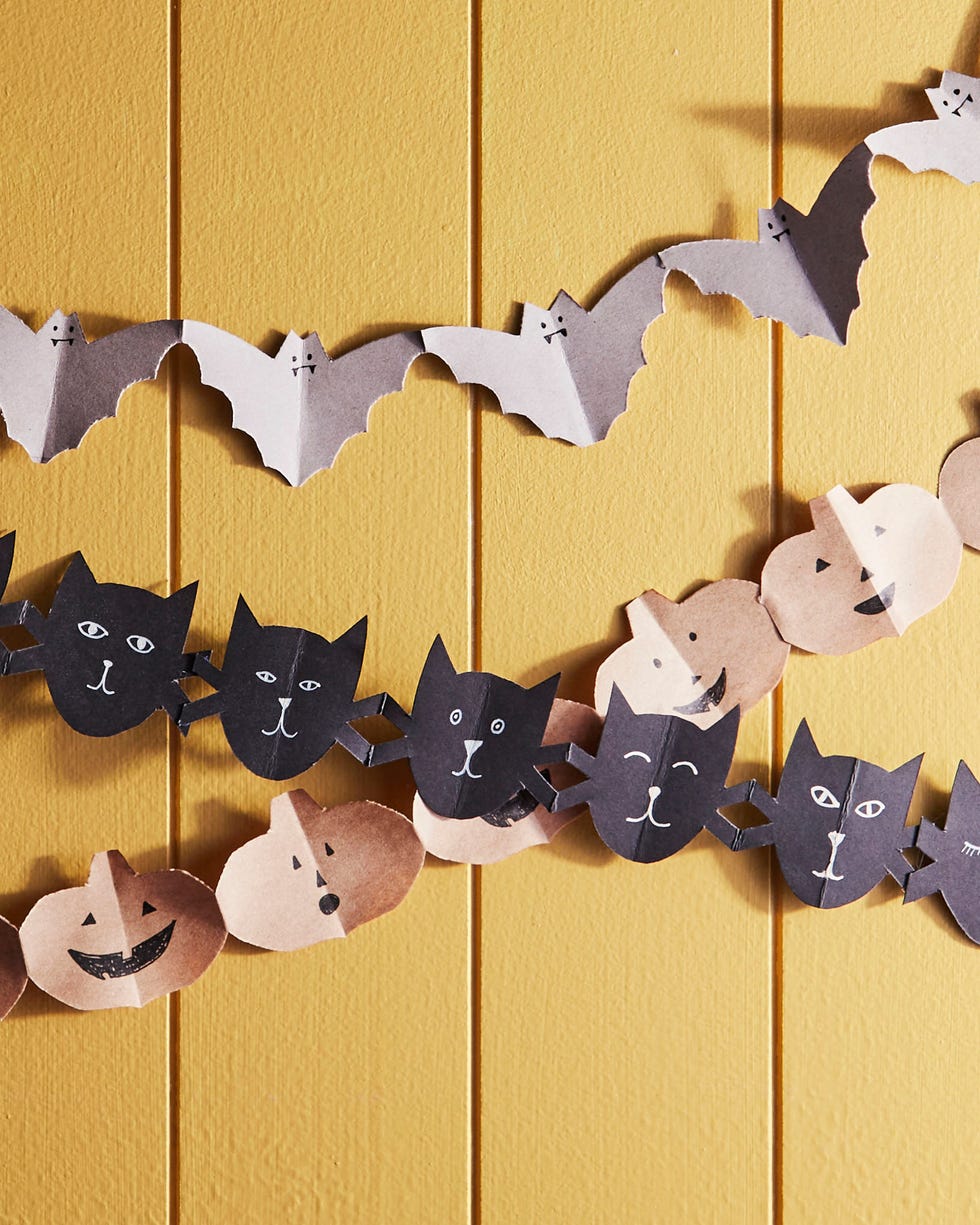
Bats, cat, and pumpkins oh my! The classic school craft gets an upgrade that’s very on point seasonally.
To make: Cut a 2 1/2-inch-tall strip of paper as long as you desire. (If you want your garland to be longer than your paper length, you can tape or glue two chains together.) Print out templates, and fold the paper, in an accordion shape, the width of the template. Trace the template on the folded paper and cut out the shape, going through all the layers of folded paper but taking care to leave attached where it touches the folded sides (these are marked as the solid lines on the template). Unfold and draw on any details as desired.
Witches’ Station
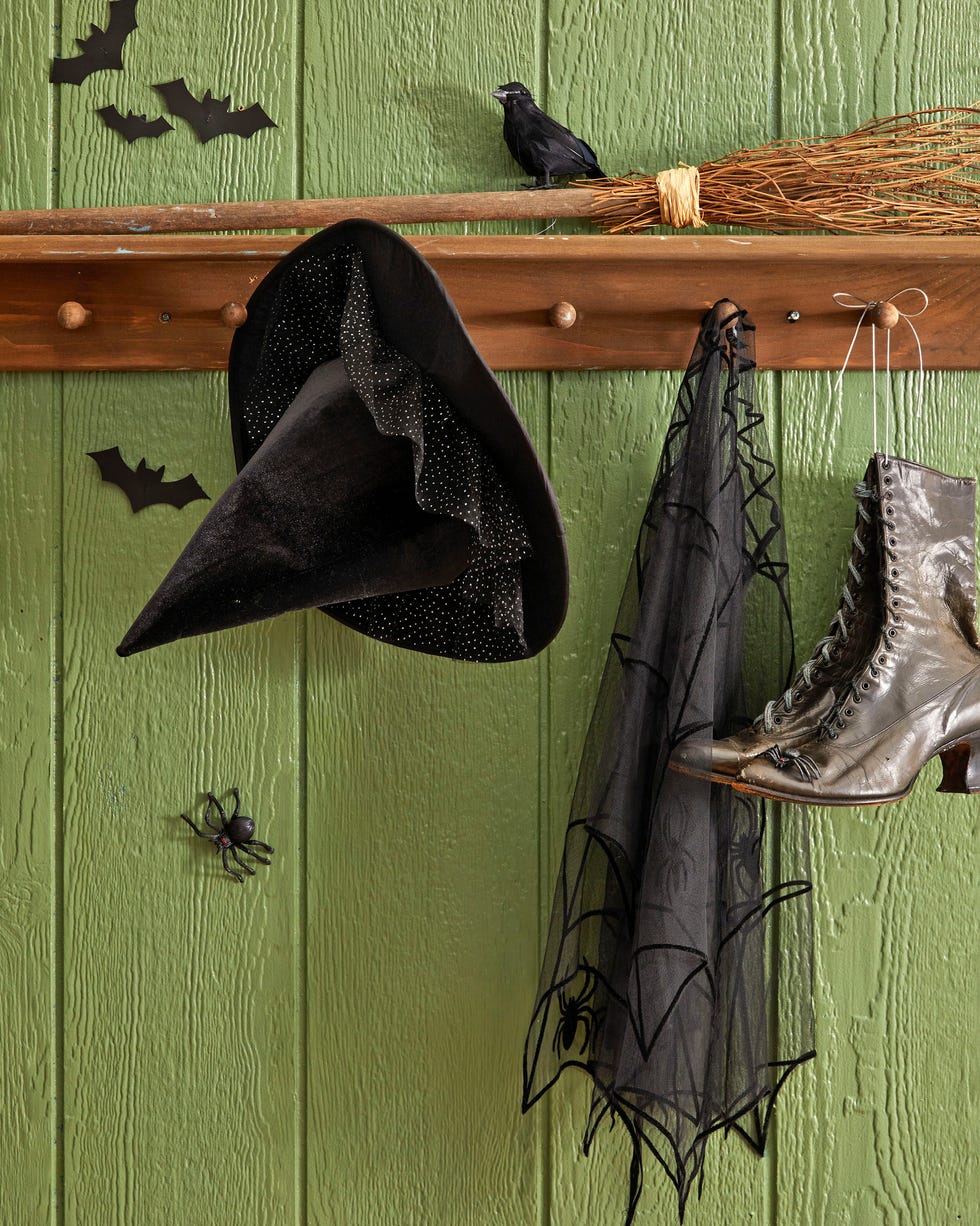
For when your little witch needs to make a quick exit, set up their outfit, including a hat, boots, broom, cape, and loads of bats and creepy crawlies right by the front door!
Advertisement – Continue Reading Below
Ghoulish Kitchen Display
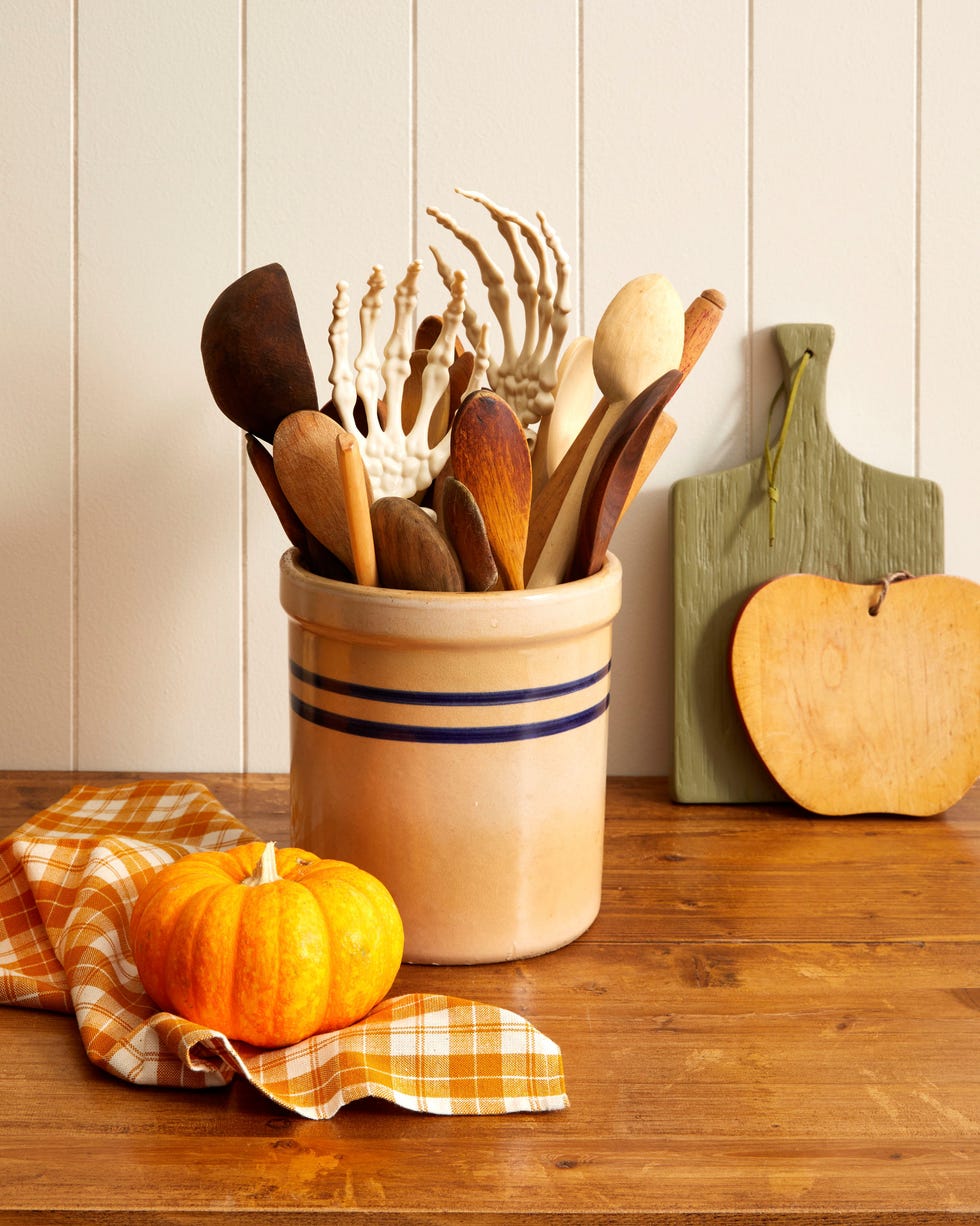
The cook is certainly going to get a fright when they reach for a wooden spoon and get a skeleton hand instead! Simply stick fake skeleton hands into a crock. Decor, done!
Mummy Votives
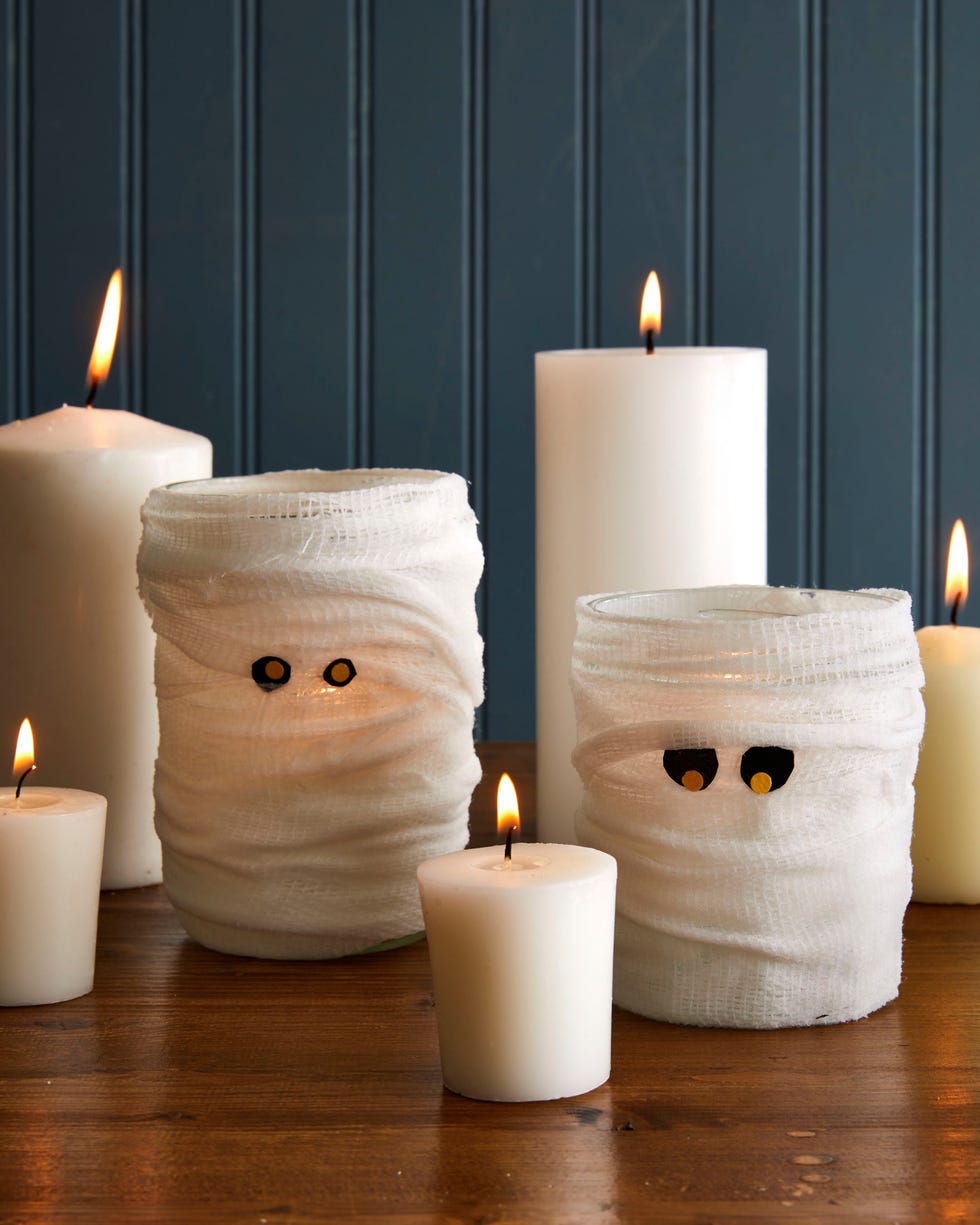
Set the scene for Halloween dinner with these mason jars turned mummies.
To make: Coat a piece of gauze with Mod Podge, then wrap it around a wide-mouth Mason jar. Repeat until the entire jar is covered. Cut eyes from black paper and pupils from yellow paper; attach to each other with a dab of hot-glue. Attach eyes to mummy, tucking them beneath the gauze as desired with a dab of hot-glue. Allow to dry completely.
Advertisement – Continue Reading Below
Pine Cone Bats

After the kids craft these sweet bats, scatter them around your holiday buffet spread, or tuck one in special trick-or-treaters’ baskets along with a handful of candy.
To make: Start by cutting bat wings and feet from pieces of cardboard (ribbed corrugated cardboard provides extra texture). Glue wings to the back of a pine cone and feet to the bottom with hot-glue. Cut a nose and ears from cardboard or brown paper. Use a brown paint pen to draw nostrils on the nose. Attach fangs made from shortened toothpicks or cut from white felt to the back of the nose, if desired; attach to the center of each pine cone with hot-glue. Attach ears to the top of each pine cone with hot-glue. Glue oblong googly eyes just above the nose.
Mummy Pillow
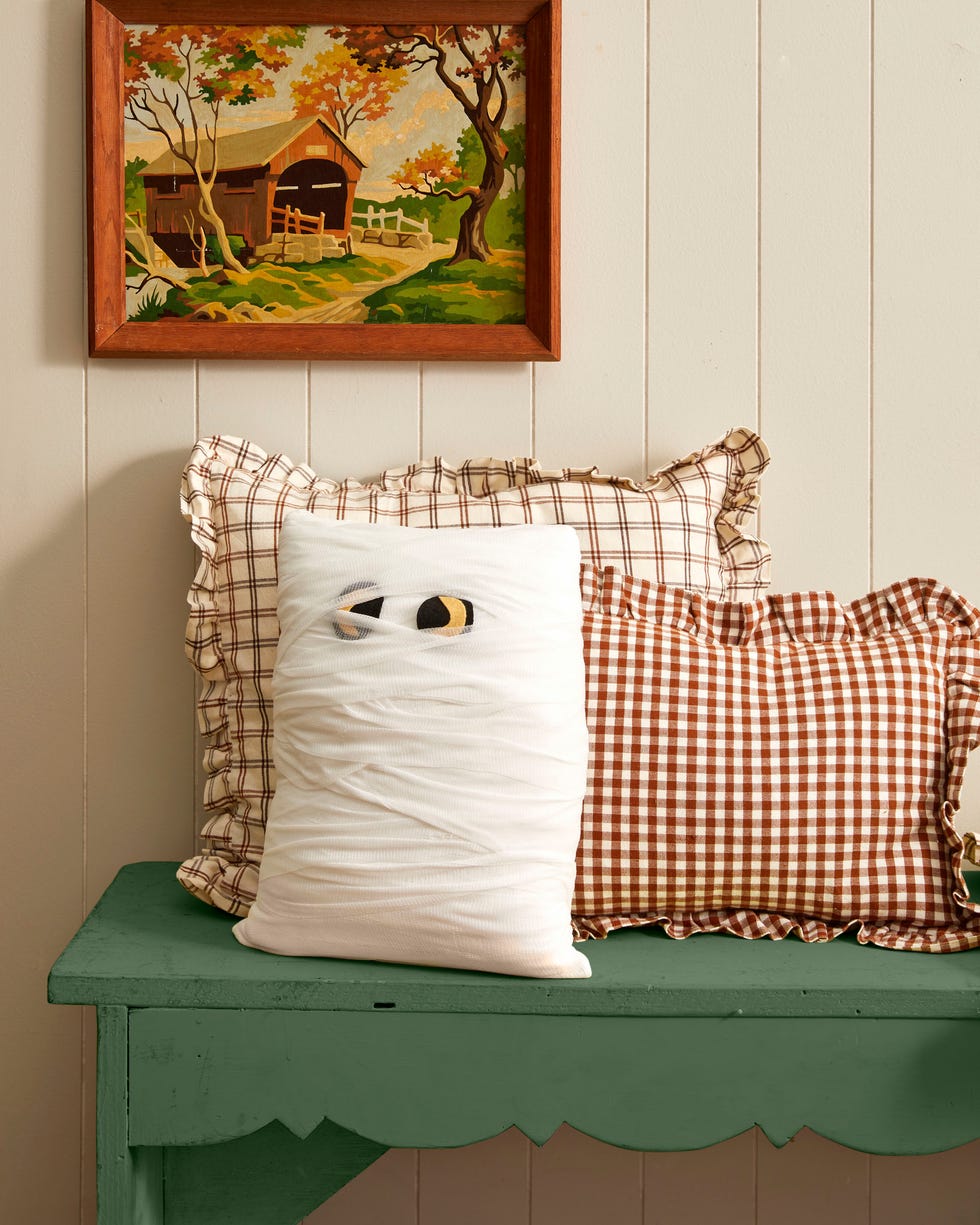
Kids will love watching guests smart when they arrive and spot this pair of yellow mummy eyes peering up at them.
To make: Wrap lengths of gauze around a white or cream pillow, overlapping it as you go, until the pillow is completely covered. Cut out eyes from black and yellow felt, attaching the pieces together with hot-glue. Tuck the eyes beneath the top layer of gauze to hold them in place.
Advertisement – Continue Reading Below
Crescent Moon and Stars Treat Holders
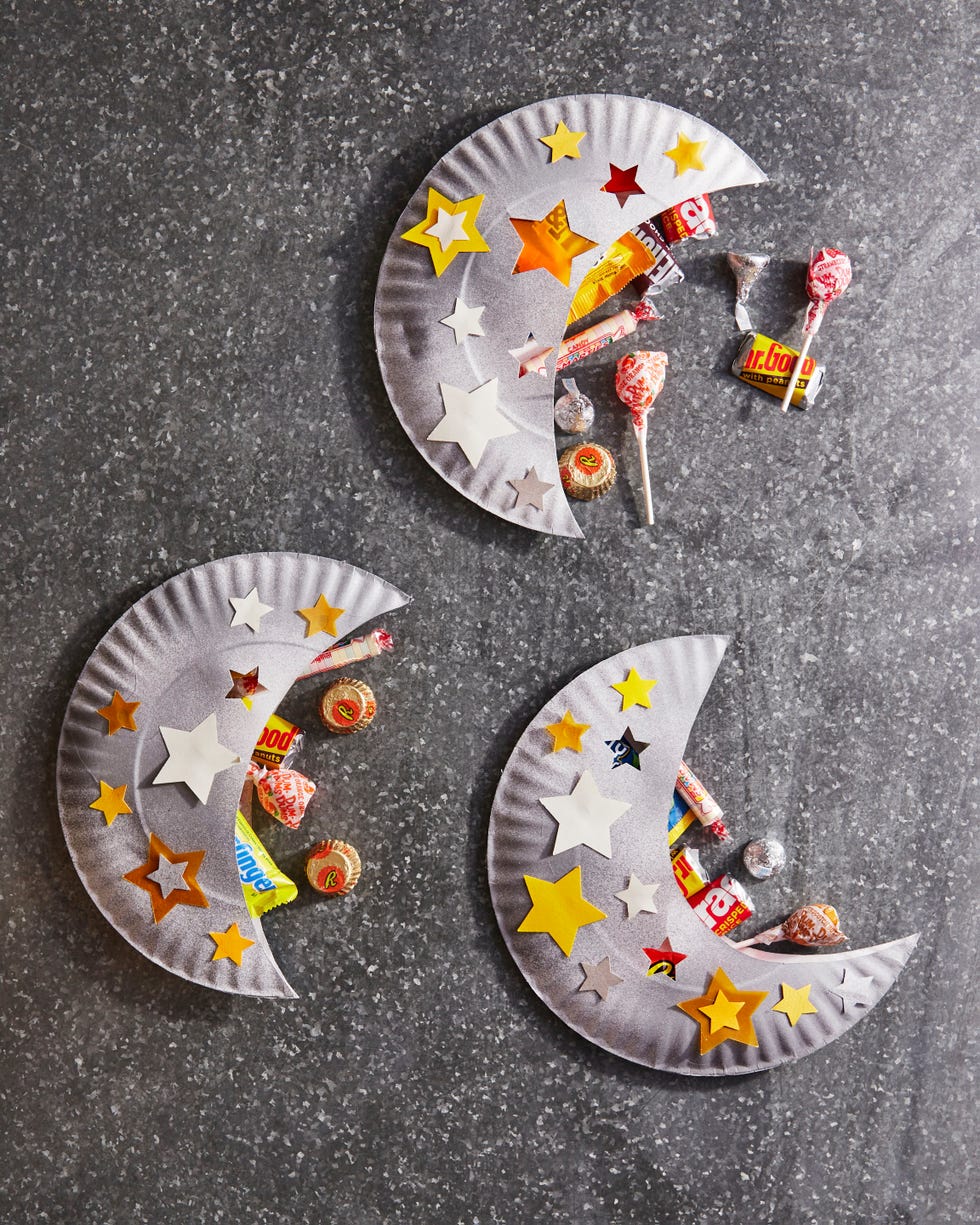
Whether you throw a moon-themed party or simply want a cute way for the kids to give treats to their friends at school, these moon-and-stars pockets are made from everyday materials like paper plates and art paper.
To make: Lightly paint the outside of paper plates with silver spray paint. Once dry, stack two of the plates and use scissors to cut out a crescent moon shape. Use a star punch to punch a few star shapes out of one of the paper plates. If the star shapes are large, back the opening with a piece of glassine paper, attaching it with hot-glue, so that candy doesn’t slip through the holes. Punch more stars from paper and attach them to the outside of one of the plates with hot-glue. Line up the outer edges of two of the plates with the painted sides on the outside; attach with hot-glue. Fill with candy, then glue the inside edge closed.
Painted Leaf Art

Kids will have a blast drawing foxes, racoons, and owls on leaves they have gathered from the yard. Plus, they have so many fun applications; They can turn them into a garland, tuck into treats for school friends or the teacher, or mount on a card to send to grandparents.
To make: Use acrylic paint pens to draw and paint animal faces on fall leaves, using the shape of the leaves to help determine which animal and where its features are placed
Advertisement – Continue Reading Below
Spooky Tic-Tac-Toe
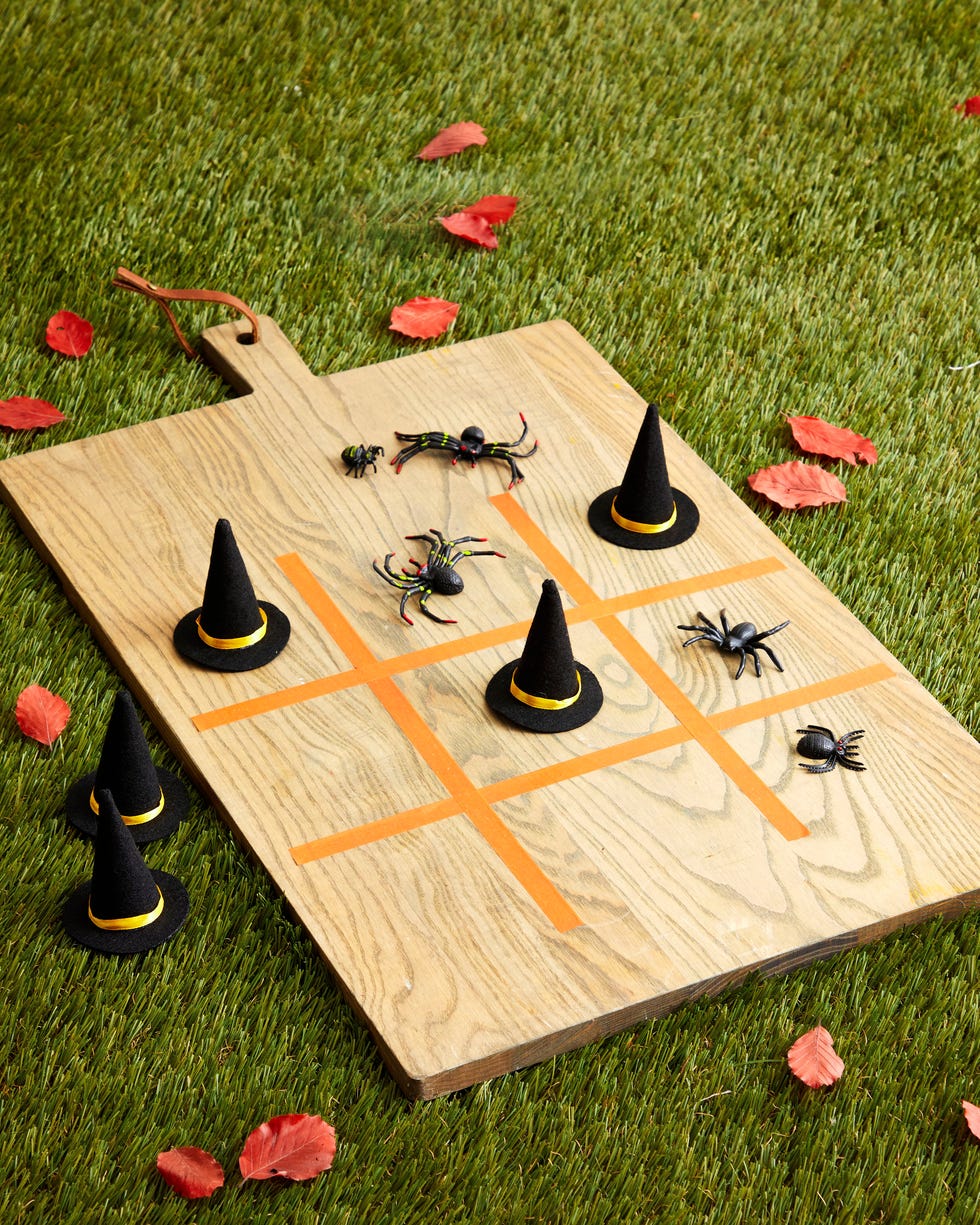
You don’t have to use just X’s and O’s to play tic-tac-toe. Make a nod to the season by using mini wicth hats and creepy crawly plastic spiders.
To make: Mark off the 3-by-3 game board on a cutting board with washi tape. Set five mini witch hats and five spiders nearby for playing.
Ghost Tree
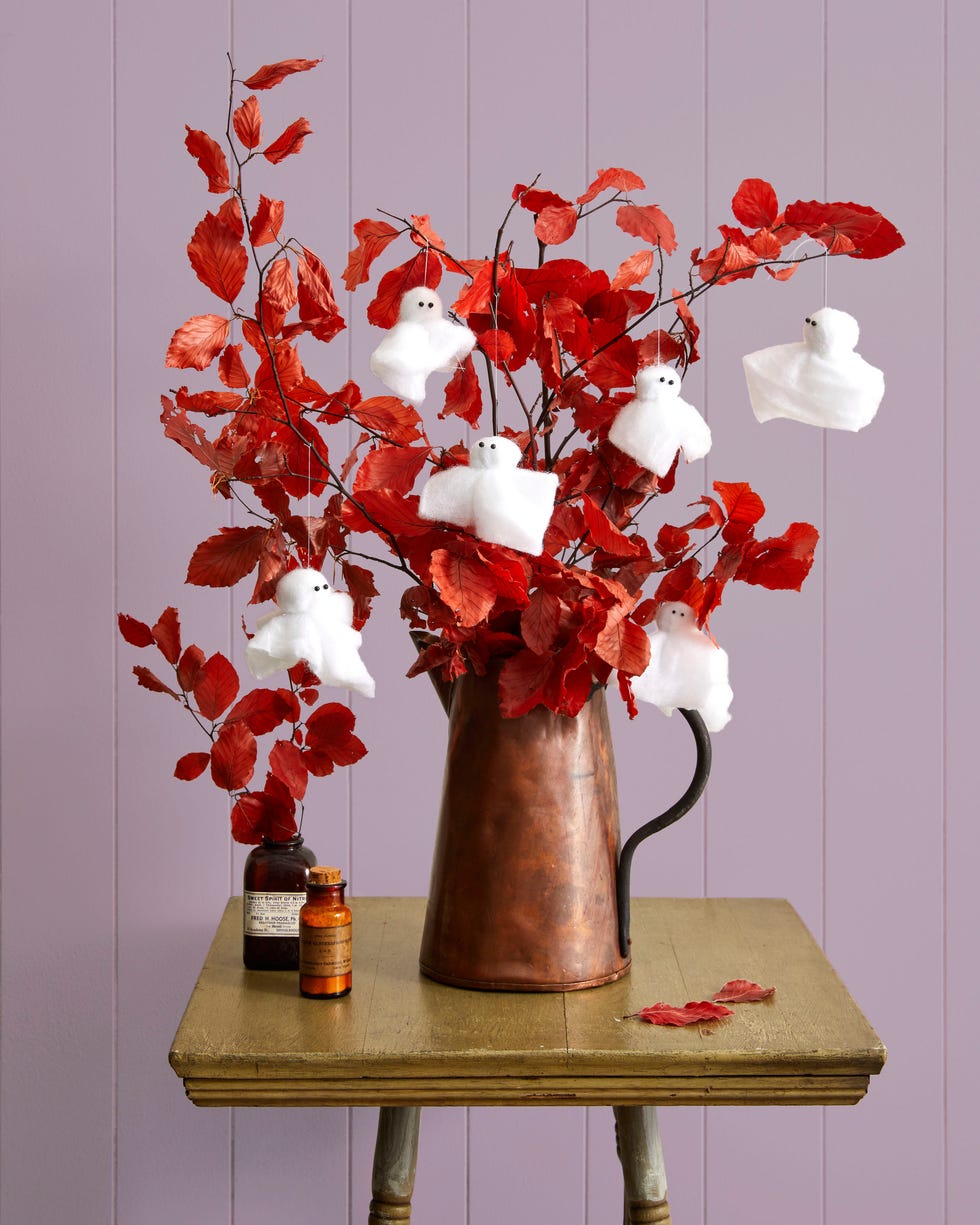
These soft floating ghosts scattered around the house will add ambience to this years Halloween party.
To make: Cut out squares of polyester batting. Place a ball of polyester stuffing in the center of each square. Bring the corners of the batting down toward each other, gathering the batting around the stuffing. Tie a piece of white twine or thread just below the stuffing to create each head. Insert map tack or sewing pins with black heads into the heads of the ghosts to create the eyes. Hang with a piece of twine or thread.
Advertisement – Continue Reading Below
Wavy Ghost Candles
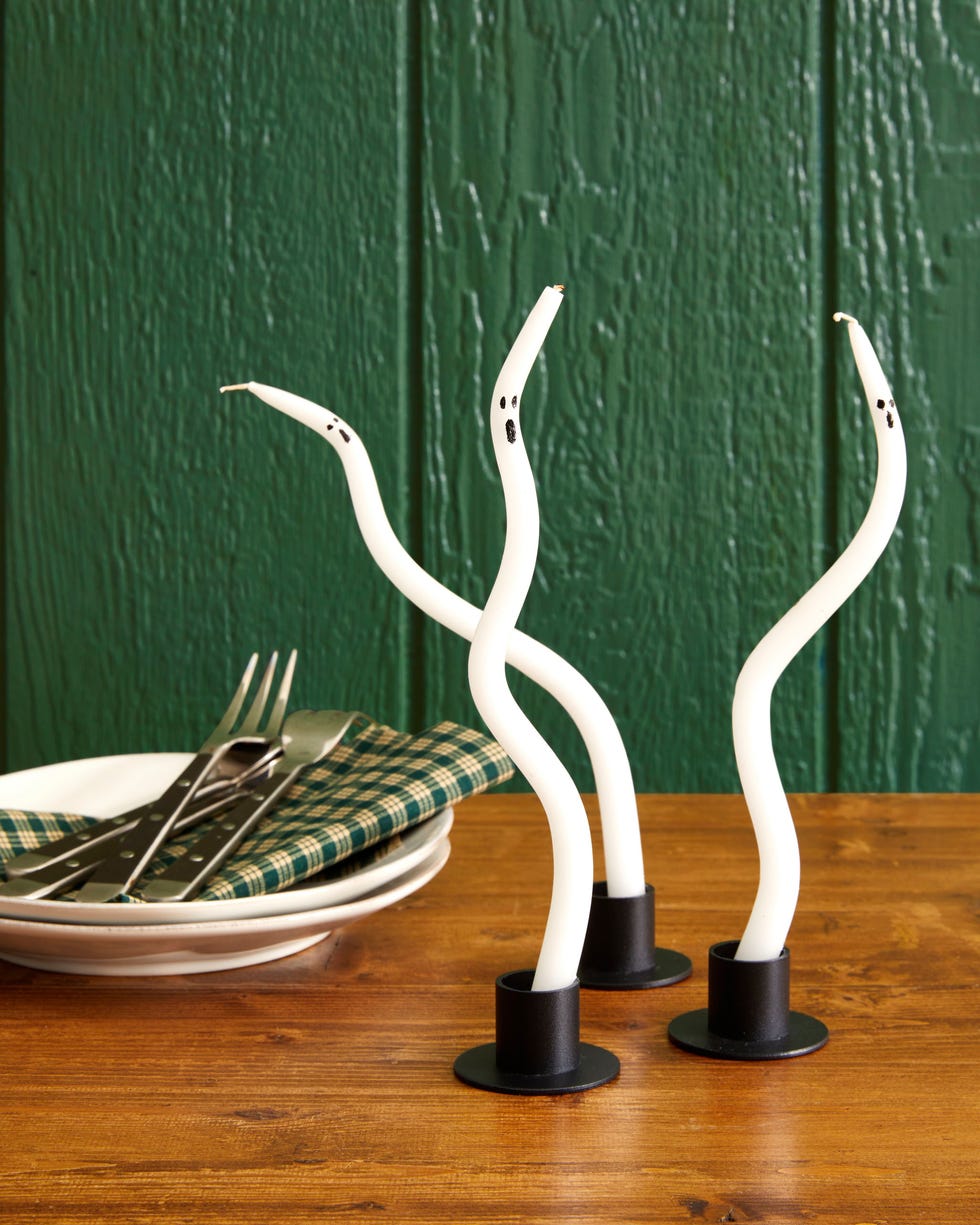
Gentle hands will be amazed to see straight as an arrow candles take shape as ghoulish ghosts!
To make: Fill a casserole dish or rimmed baking sheet with very hot tap water. Place thin white candles in the water, making sure they are fully submerged. Allow the candles to sit in the water for 30 seconds to a few minutes. Once candles start to soften and become pliable, shape them into wavy ghosts. (You can do this in the water or remove them from the water if it’s too hot.) Once the desired shape has been achieved, dry the candle fully with a dish towel. Use an acrylic paint pen to add eyes to the candles.
Ghost Lollipops
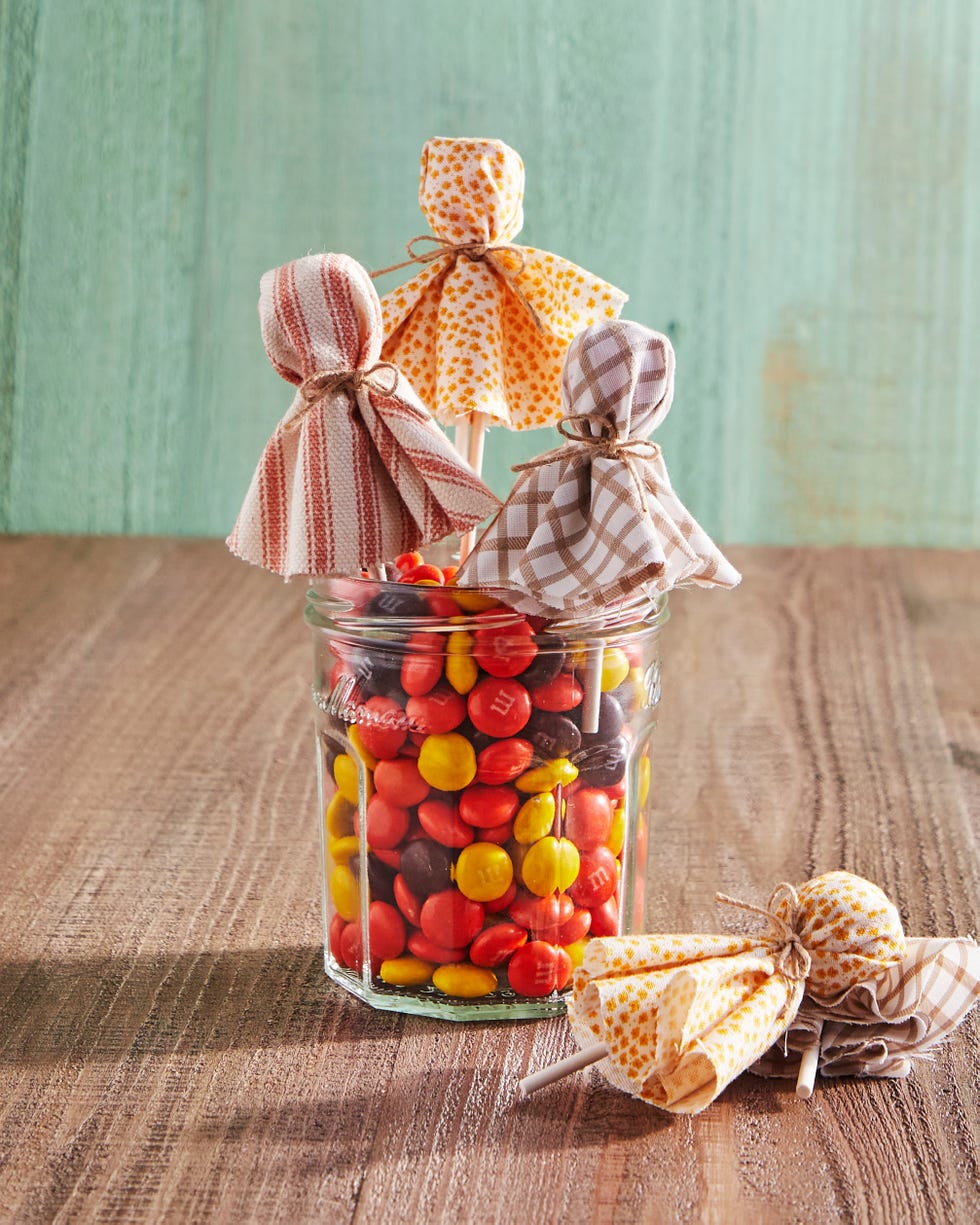
Kids love crafting special treats for their friends and classmates and these fabric covered lollipops will certainly fit the bill!
To make: Cut a 4- to 5-inch circle of fall-colored fabric. (For added flair, use pinking shears.) Place a lollipop in the center of the fabric and wrap the fabric down and over it. Gather the fabric around the lollipop stick and secure in place with a piece of jute twine.
Advertisement – Continue Reading Below
Framed Ghosts
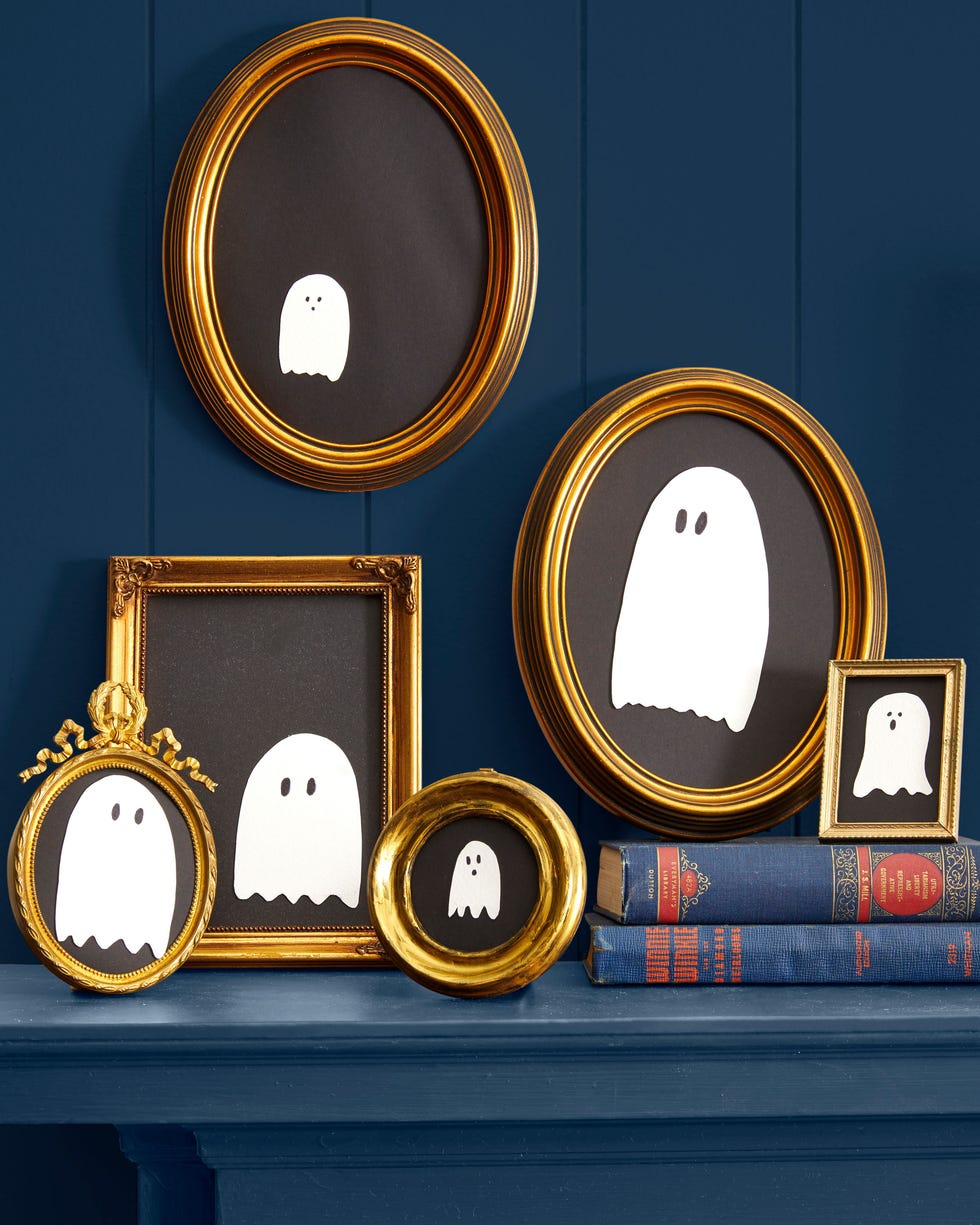
This super simple to execute ghostly décor will have a big visual impact because of its limited and sophisticated color pallet. Vary the frame shapes and sizes and the eye placement on the ghosts for added interest.
To make: Cut a piece of black paper that is the same size as the backing of a gold frame. Freehand cut a ghost from white paper and draw on eyes using a thick black marker. Tape or glue the ghost to the black paper and insert into the frame.
Cotton Candy Spider Treats
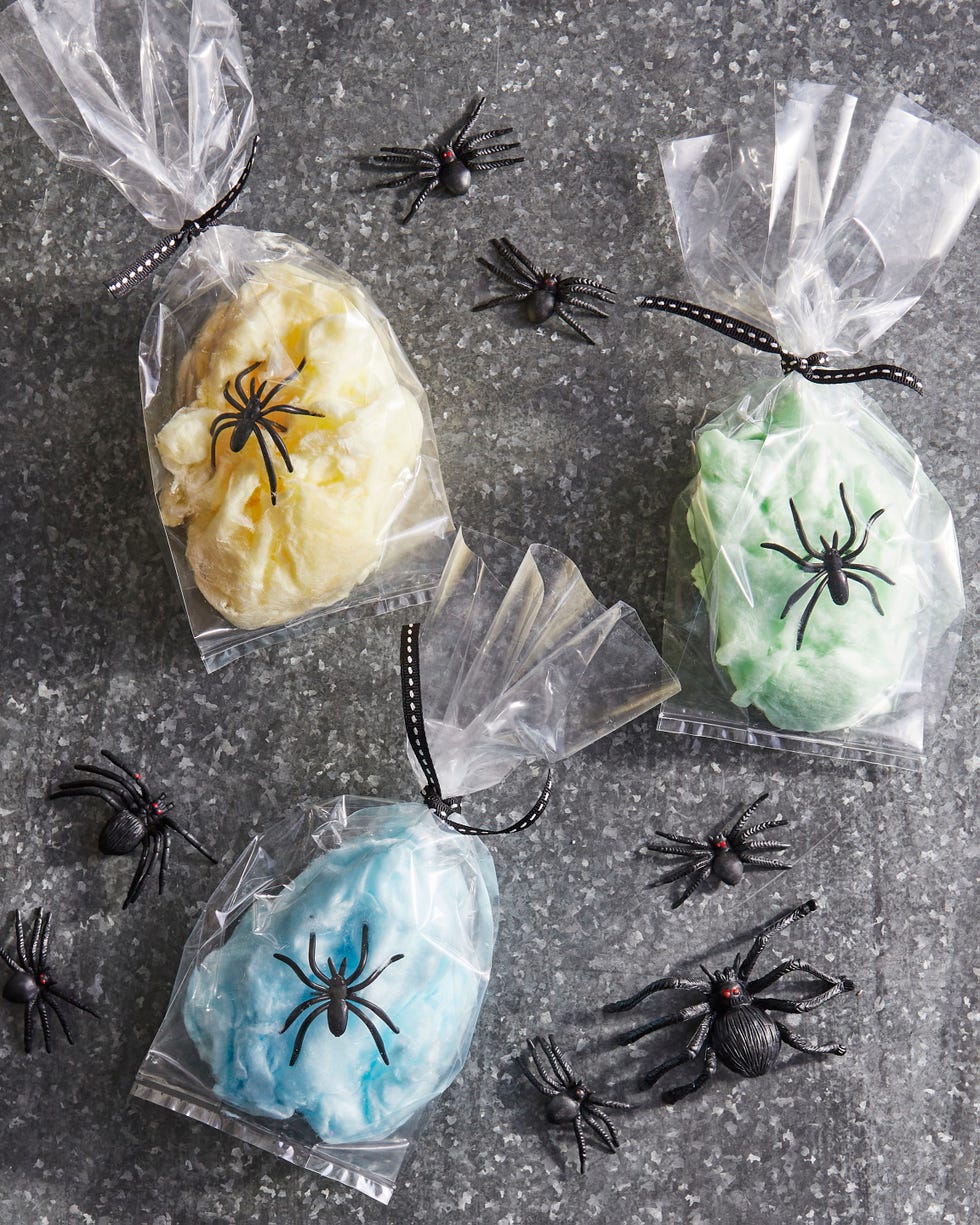
Enlist the kids to help make these two-in-one party favor gifts—a sweet treat and spider ring. Guests will leave hopped up on sugar and scared of their own hands! It is Halloween, after all.
To make: Transfer a small amount of store-bought cotton candy to a cellophane gift bag. Insert a plastic spider ring on top of the cotton candy. Tie each bag closed with a thin piece of black ribbon
Advertisement – Continue Reading Below
Cat Trick-or Treat Basket
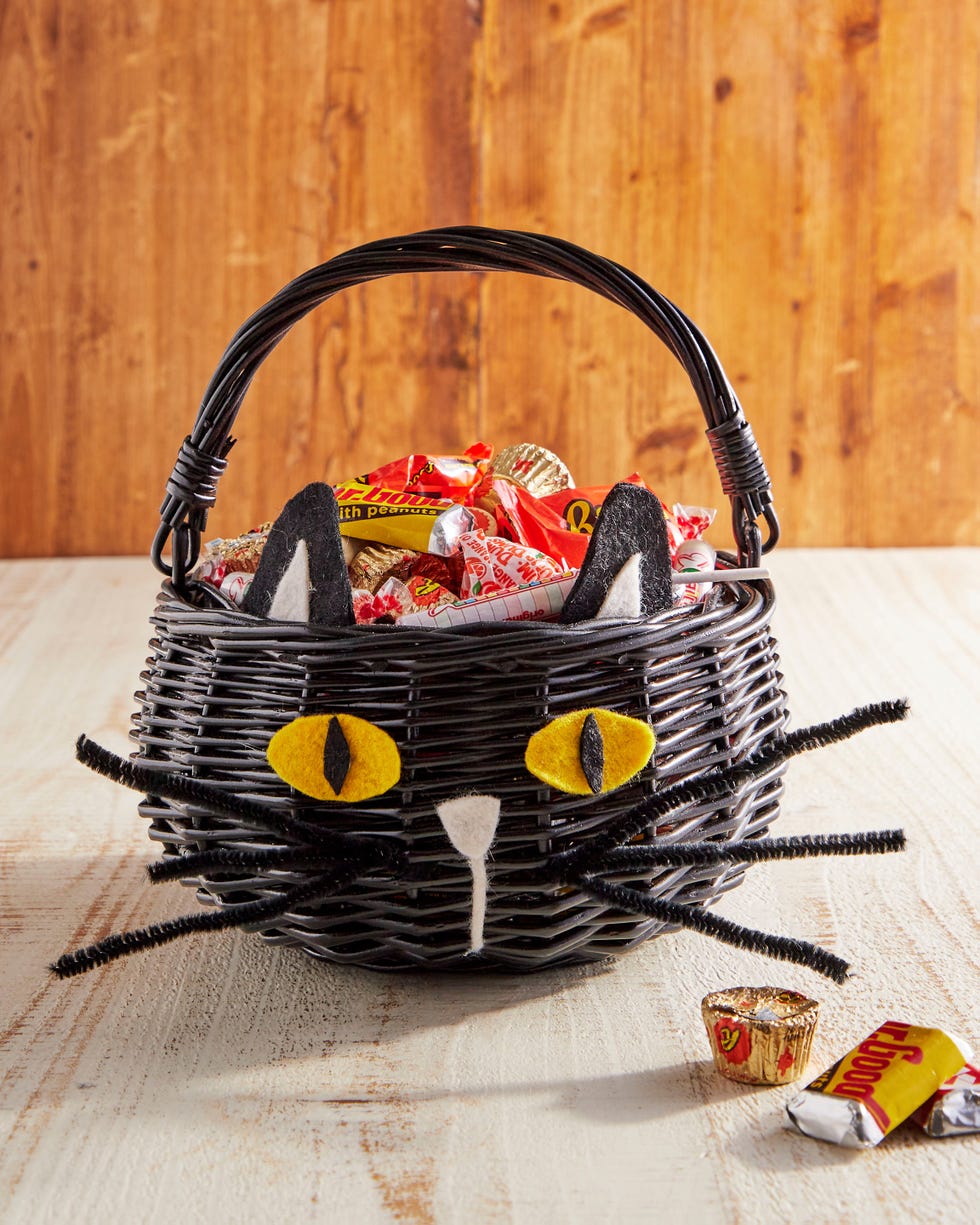
Whether your kiddo dresses up as a cat or not they will still love crafting this perfectly friendly cat treat basket.
To make: Buy a black picnic basket or spray-paint one you already have. Next, cut eyes from yellow felt and pupils from black felt; attach them to each other using hot-glue. Cut the nose from a small piece of white felt. Attach the eyes and nose to the basket with hot-glue. Attach six black pipe cleaners with hot-glue, three on either side of the nose, cutting them to the desired length.
Slithering Button Snake Puppet
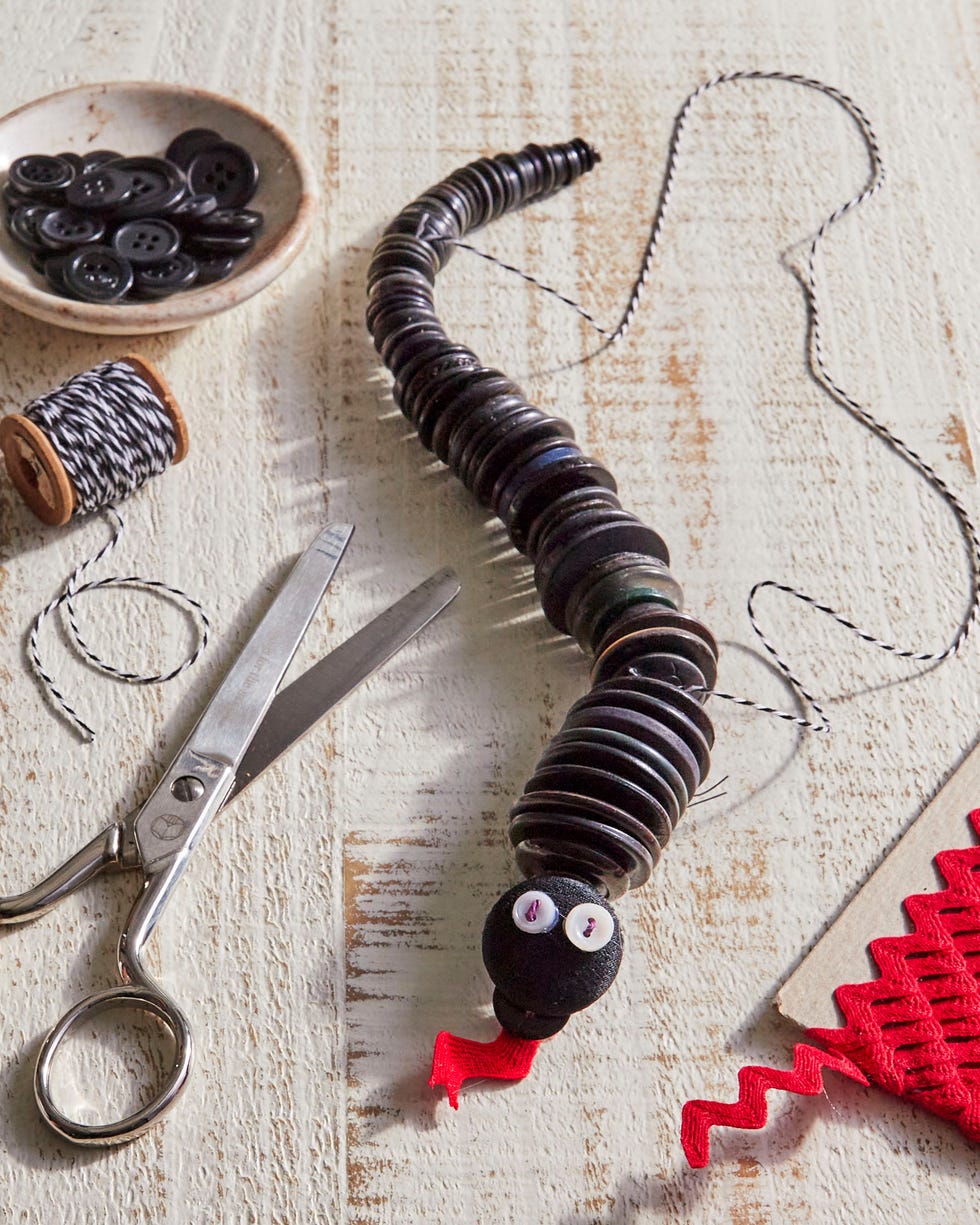
Kids can act out plays with this friendly reptile or simply adopt it as their new best friend! It won’t try and eat all their Halloween candy afterall!
To make: Fold a long piece of thin black crafting wire in half. Thread the wire through two holes of many black buttons, starting with small buttons for the tails and getting progressively larger as you work toward the head. Twist the ends of the wire together to hold everything in place, leaving a 1-inch piece of twisted wire at the end for the head. Attach a large button to the 1-inch piece of wire at a 90-degree angle to the body to create the head. Thread a piece of thin red twine or string through two holes of two small white buttons; attach to the head to create the eyes. Glue a small piece of red rickrack under the head to create the tongue. Tie black-and-white bakers’ twine or black string around the body at two points so that it can act as a puppet.
Advertisement – Continue Reading Below
Broom and Witch Hat Garland
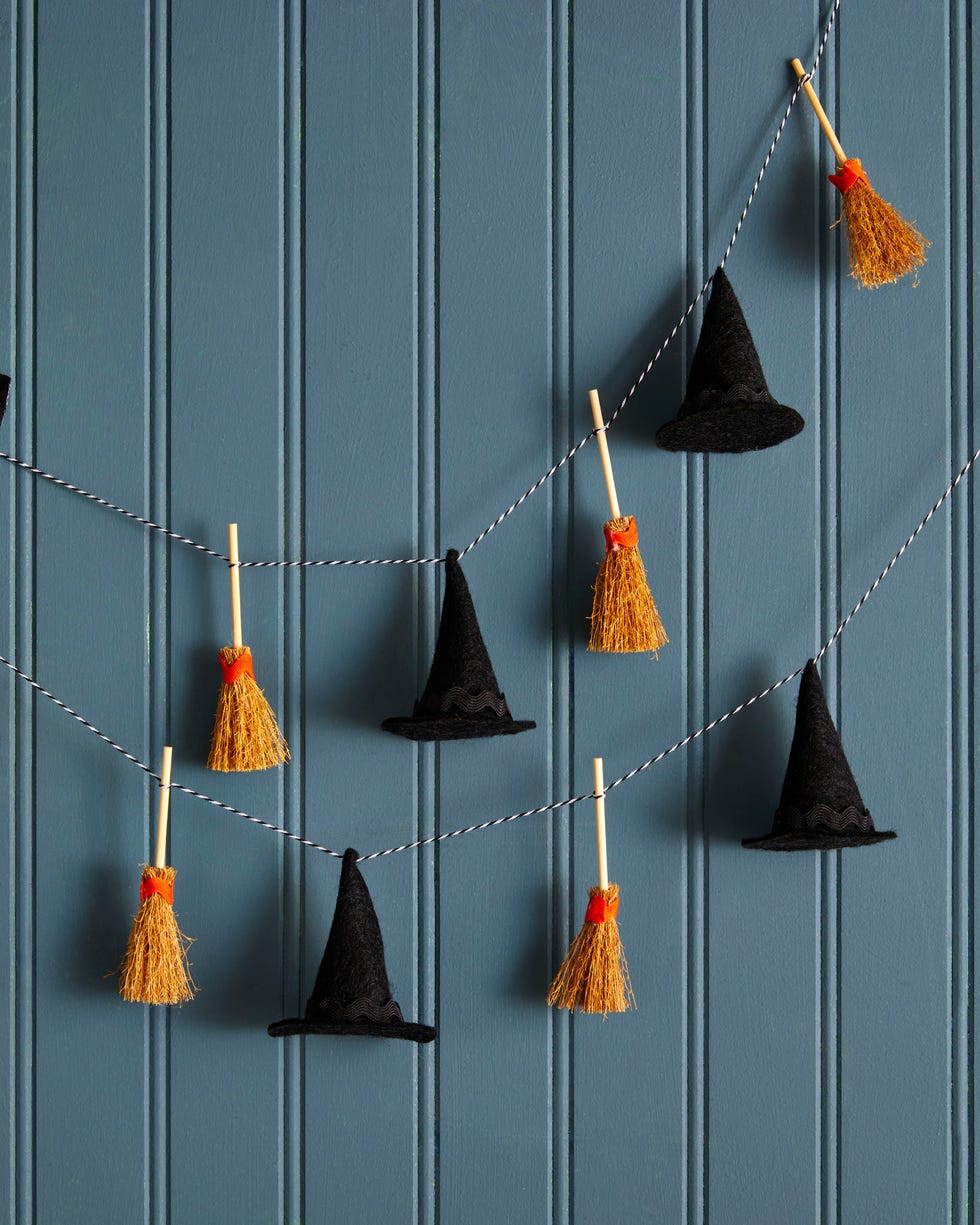
Flying Bat Cloches
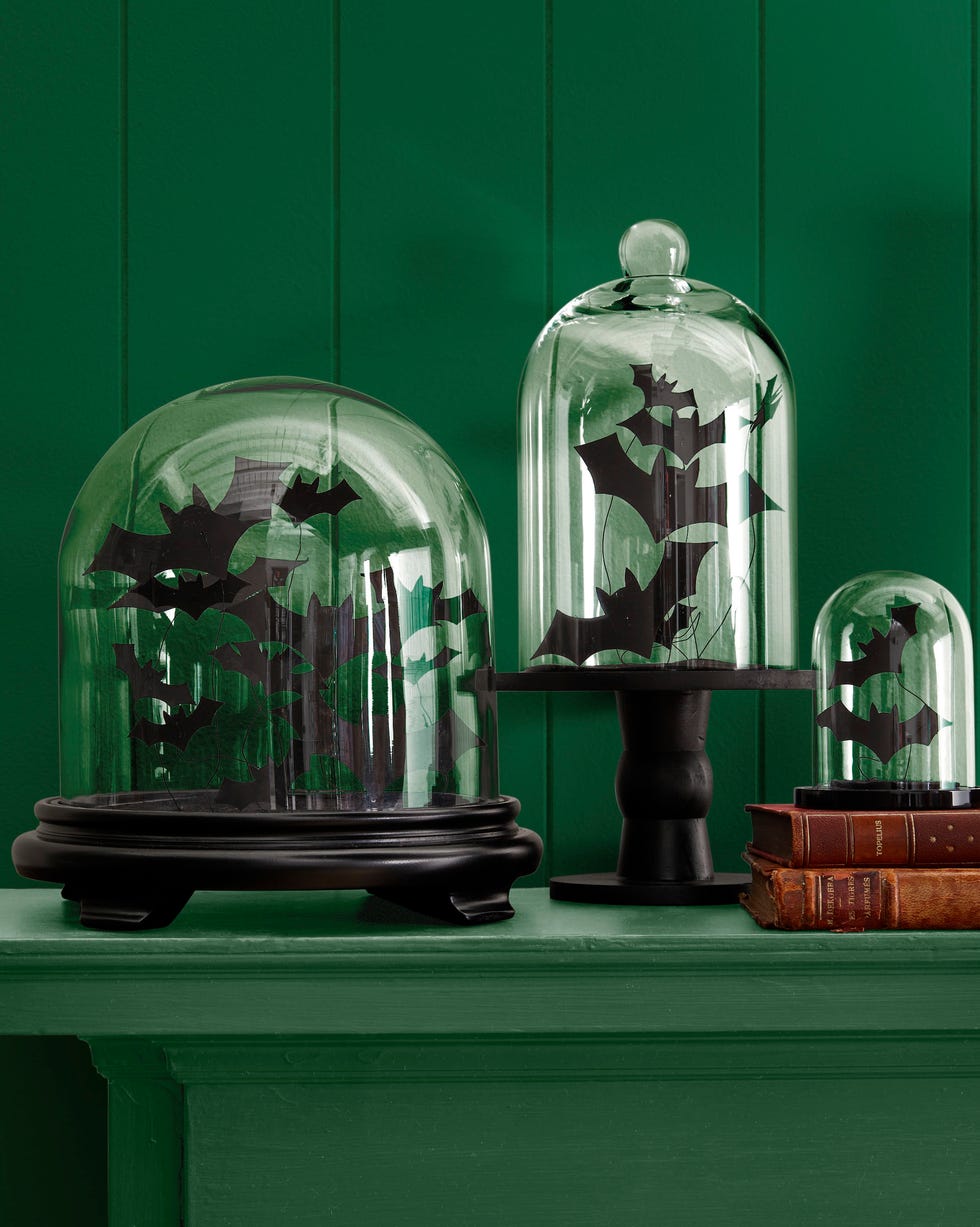
Don’t let the bats out!! Glass domes will help keep fluttering paper bats contained. If you don’t mind a few critters flying around the house you can also attach them to bed posts, stair railings, or door knobs.
To make: Draw or trace bats of varying sizes on black paper with a white pencil; cut out. Attach one end of a piece of 18-gauge black wire to the back of each bat with black gaffers tape. Attach the other end of the wire to a black plate, cake stand, or cloche base, trimming the wire as necessary to ensure it fits under the cloche. Top with a glass dome.
Advertisement – Continue Reading Below
Witch Hat Ring Toss
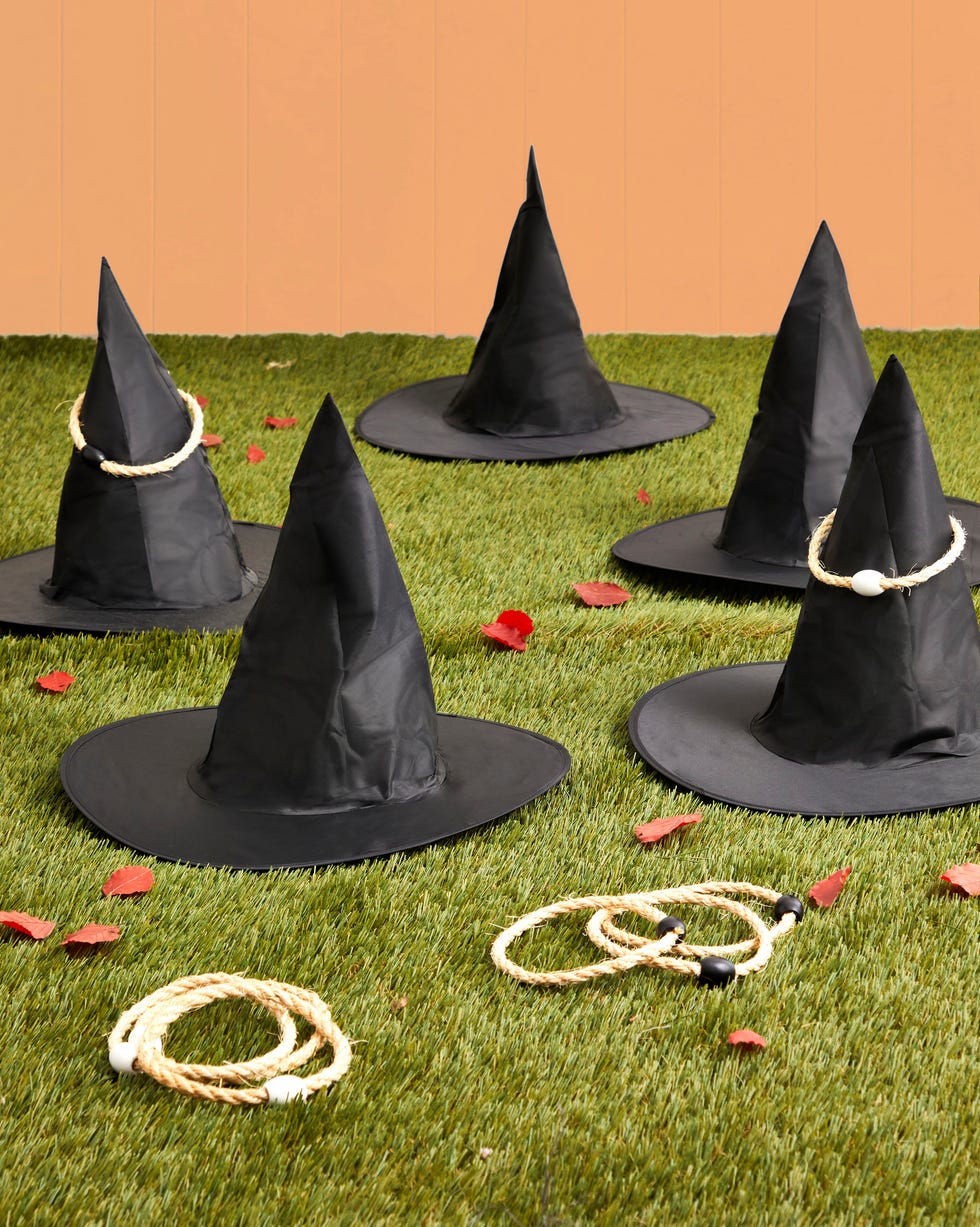
Kids will love setting up this game and playing with their friends when they stop by for treats.
To make: Scatter witch hats around the yard. Place rope ring circles nearby for playing.
Number Monsters
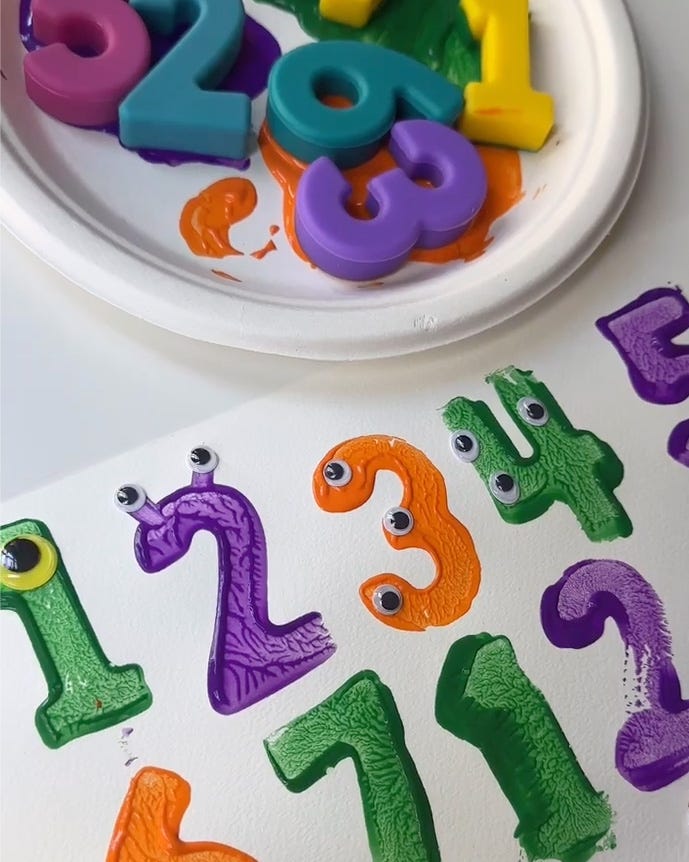
This crafty Halloween activity from Domino & Juliette is surely Count von Count approved.
To make: Place washable tempera paint in paper plates (one plate per color). Dip number shapes (used here: silicone numbers from Domino & Juliette’s 123 Find and Fit Puzzle) in paint and stamp on paper. Decorate numbers with googly eyes to look like monsters.
Jessica Leigh Mattern is a web editor and writer who covers home, holiday, DIY, crafts, travel, and more lifestyle topics. Prior to working for Country Living, she wrote for several lifestyle and women’s magazines including Woman’s Day, Cosmopolitan, and Redbook

Charlyne Mattox is Food and Crafts Director for Country Living.
Advertisement – Continue Reading Below
Advertisement – Continue Reading Below
Advertisement – Continue Reading Below
Search
Recent Post
Millie Mackintosh swears by Margot Robbie’s face-sculpting
- February 11, 2026
- 5 min read
Millie Mackintosh’s face-sculpting tool is Margot Robbie’s
- February 10, 2026
- 4 min read
Creative arts a vital gateway to digital
- February 10, 2026
- 6 min read
The Artificial in Art: AI At The
- February 10, 2026
- 3 min read
North Lanarkshire Council’s community arts programme Arts
- February 9, 2026
- 3 min read
The striking Arts & Crafts country home
- February 8, 2026
- 5 min read
Ye Broads Craft Shop in North Walsham
- February 8, 2026
- 9 min read


