
[ad_1]
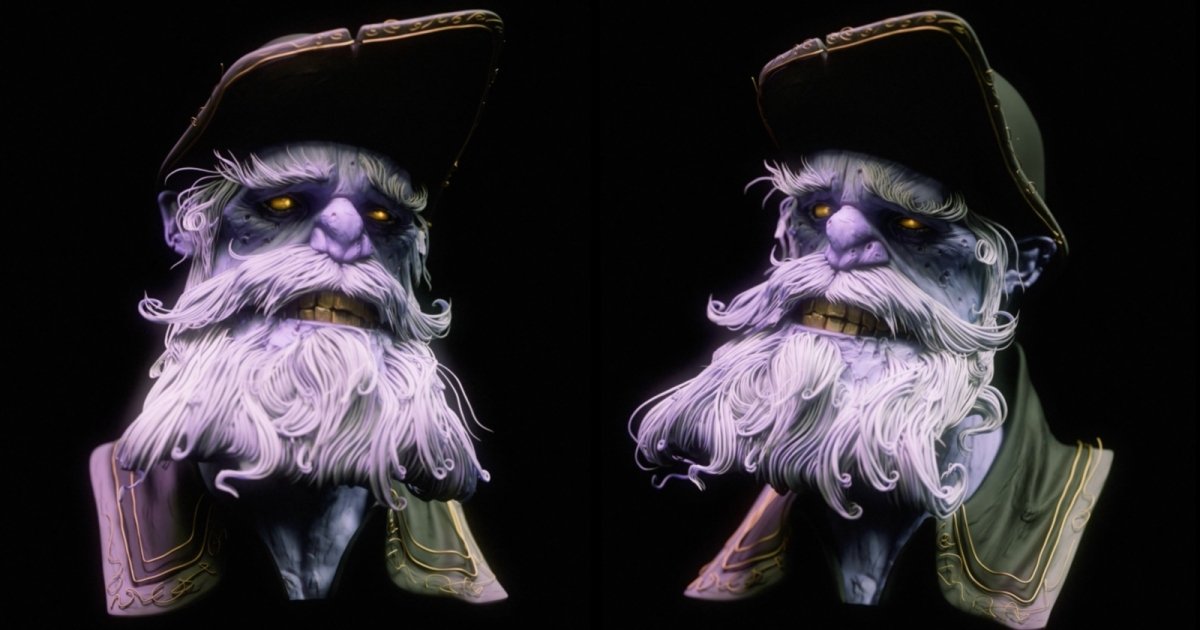
White Beard
The sculpting process of this character was straightforward, up to a point. I started from a head base mesh, and first I tried to achieve a basic likeness of the concept. My tendency when working with a base mesh is to try to achieve the right proportions of a portrait or character before subdividing. So, at the lowest subdivision level, with just the move brush mostly, and sometimes a bit of clay buildup with big strokes and a smooth on top, I try to achieve those base shapes.
The other subtools that I worked with are either extracted with masks from the base mesh and modeled in the shape that I need them, or started from a sphere. In most of the cases, it’s both. On hair and beards, I tend to sketch on top of some Dynamesh spheres, because I like them to be sketchy and with the rugged polygonal look of Dynamesh. I feel like that rugged polygonal look helps me visualize how it will look later on.
After I get all those base shapes blocked in, I start refining. Usually the anatomy first, then I go subtool by subtool, adding what details are needed to get to a sort of complete state with the primary shapes. On this project, that’s the moment when I got into a bit of trouble. I had the primary shapes in, I had the secondary shapes as well, as seen in the first WIP image here, but I knew I also wanted some tertiary shapes, some details, and didn’t know how I could do that while keeping it sketchy and sort of clean at the same time.
What I knew was that where I was with it at that point was too clean. So, I took a Digital Clay brush pack that I had and started experimenting with it. Went through a couple of them without being pleased, because I didn’t want it to look as if having the typical details of sculpted clay emulated in ZBrush, I wanted it to be its own thing.
Skin, but not skin exactly, a sickly, unreal version of it. So, after experimenting with some Digital Clay brushes, adding strokes in the directionality of the bony landmarks and the skin folds, I was still not pleased. So I got back to the basic Clay Buildup brush and started digging into it again, quite literally this time. I thought, what if the marks in the sketch I was working from would represent holes? So that’s what I did, I started sort of ruining it, and went as far as I could with it.
Also adding on top of the Digital Clay, another layer of brushstrokes, with the simple clay buildup brush, to sort of ruin the clarity of the digital clay brush pack. I think this worked in my favor because now the brush strokes of the clay buildup brush, which are quite recognizable, weren’t 100% visible, but neither were the Digital Clay brushes.
So, I was pleased; it was time to move on to the hair. Which, again, I had no idea how to do, I was already far off the initial plan of making it look sort of cel shaded, with dark brush strokes as contours. Below is the result I had after this sculpting pass.
[ad_2]
Source link